Instructions for creating groups
Here's a set of instructions for creating groups in the Junior Great Books Digital Classroom:
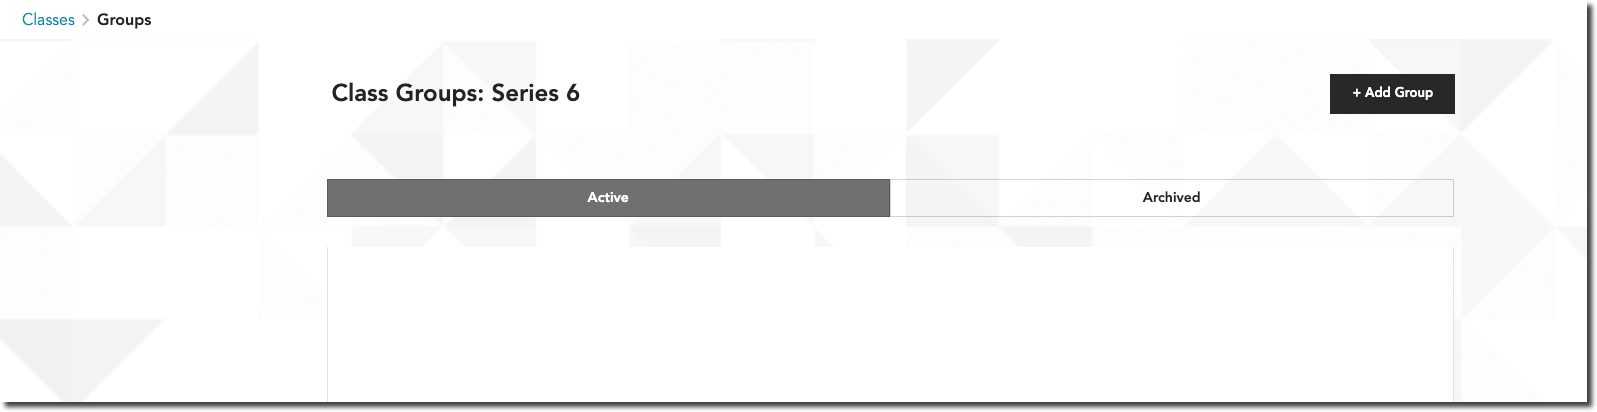
Navigate in the Digital Classroom and find the class fir which you want to create groups. Within the class, you'll see four primary links: Book Assignments, Roster, Class Settings, and Groups. Click on the Groups link, which is the last one.

After clicking Groups, you will be directed to a new screen. On the far right, you'll notice an Add Group button in black. Click this button.
A new screen titled Add Group will appear. On the left side, you'll see fields for Group Name and Group Description. Fill in these fields with the relevant information. On the right side, you'll find a tab labeled Select Students, where you can see a list of registered students. Here, you can select the students you want to include in your group.

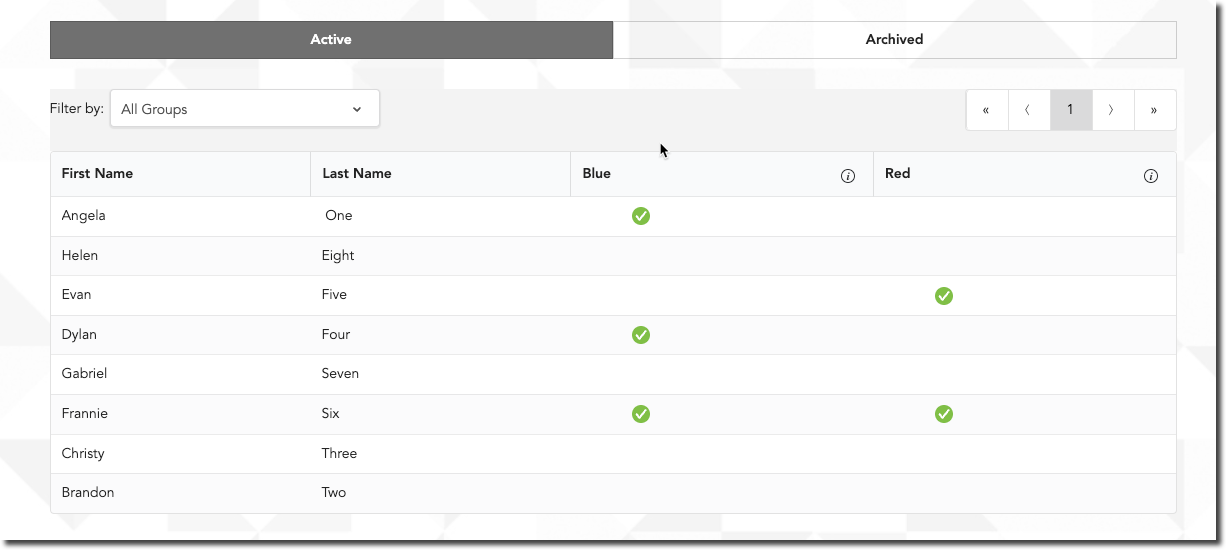
Once you've selected the students, there will be a Groups tab where you can manage your various groups. This is particularly useful if you have multiple groups and need to access or filter them.
By following these steps, you'll be able to create and manage groups in the Junior Great Books Digital Classroom.