Directions for adding a book to the class
After setting up your class, click on the "Book" hyperlink.

On the subsequent page, locate the "+Add Book" button positioned in the top right corner.

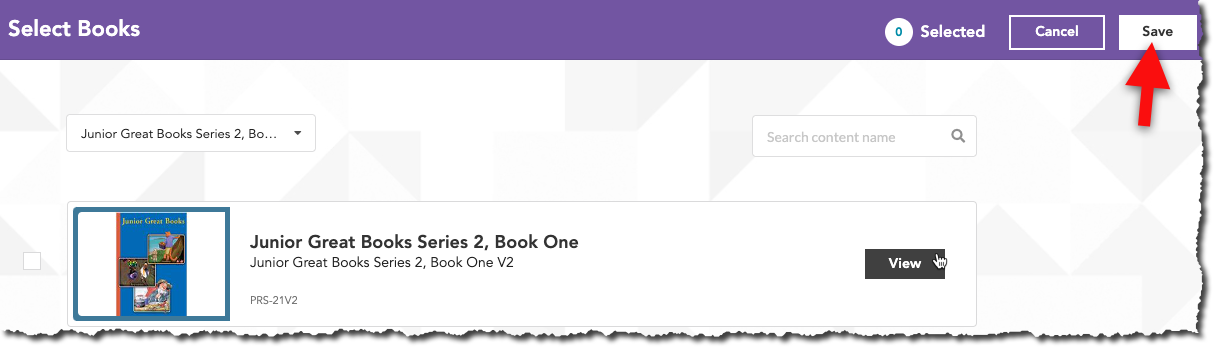
This next page will display all the courses you've purchased licenses to use. To include a course in your class, simply mark the checkbox to the left of the course name.

Once you've made your desired selections, finalize the process by clicking the "Save" option found in the upper right corner of your screen.
Your chosen course(s) will be integrated into your class, and you can access each one by clicking the "Open" button situated on the right.

Please note: If you've already established your class and added books before August 11, we recommend removing any previously added books. To do this, click on the "Book" hyperlink located below your class name,

then select "Remove" to eliminate these books from your class.

Confirm your action by clicking "Yes, continue." You should notice that no courses are assigned to your class. Following this, follow the instructions above to add JGB DC materials.

For classes that are still active from the previous year, we suggest altering the end date of the class to a date in the past. This will effectively archive your class. You can make this change by clicking on the "Class Settings" hyperlink below your class name.

If you haven't already done so, create a new class for the current school year. Afterward, follow the instructions provided above to add JGBDC materials.
